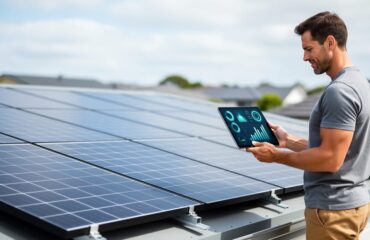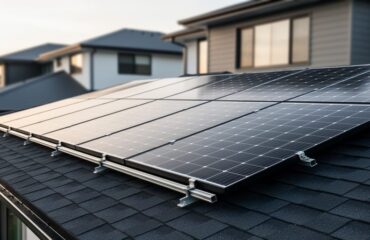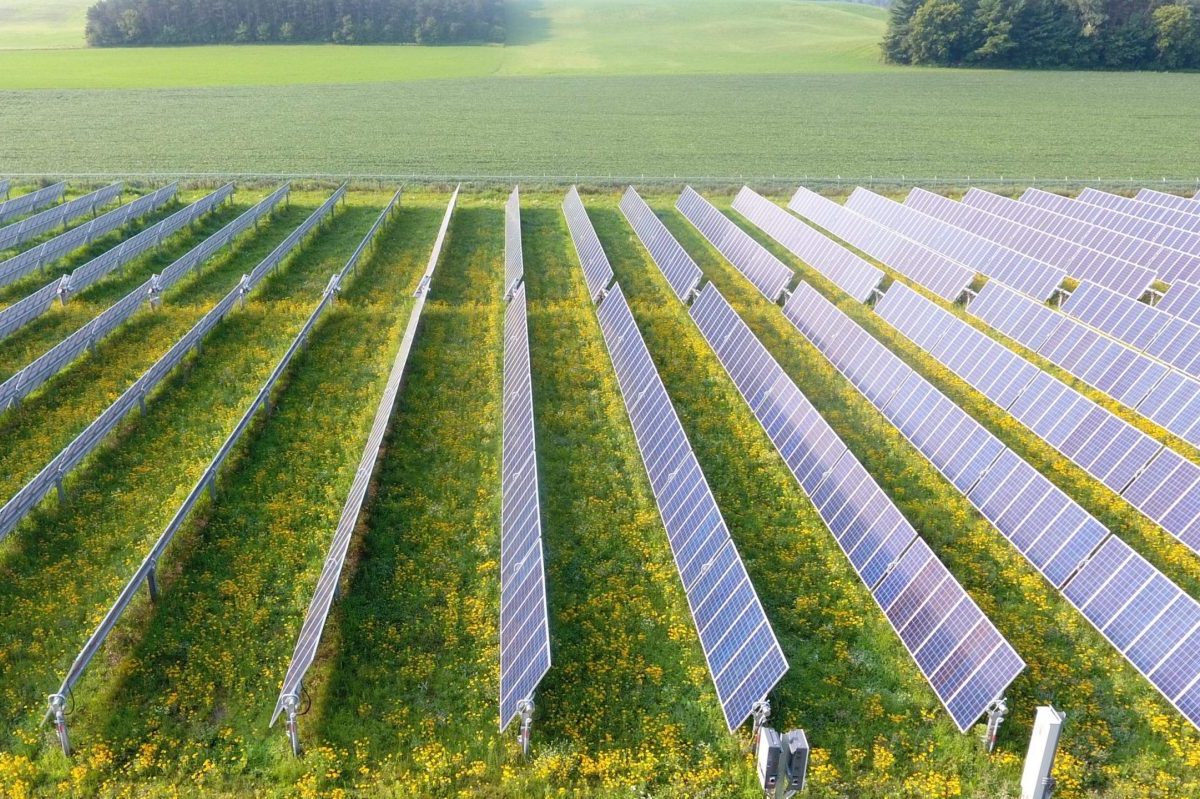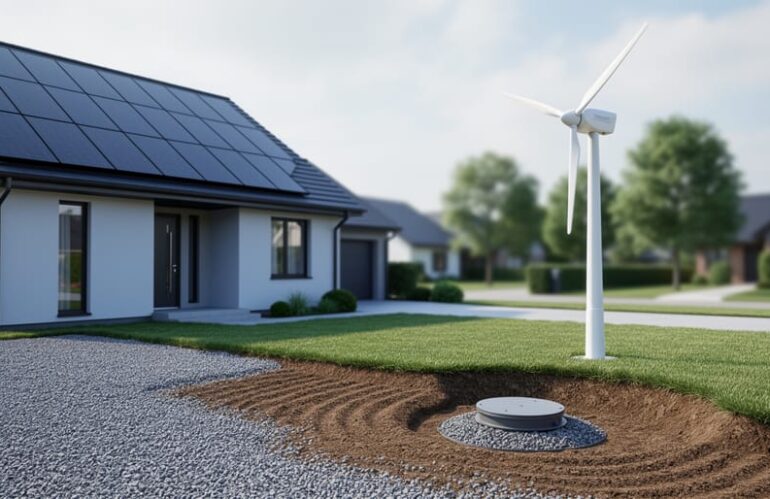
Installing renewable energy on your property comes down to three proven technologies: solar panels, wind turbines, and geothermal systems. Each serves different needs based on your location, budget, and energy goals, with solar being the most accessible option for most homeowners and businesses in 2026.
The decision to switch to renewable energy isn’t just about environmental responsibility. Property owners who install these systems typically see energy bill reductions of 40-70% within the first year, and many achieve complete energy independence within five to seven years. The federal investment tax credit currently covers a significant portion of installation costs, making this the right time to move forward with a system that matches your property’s unique characteristics.
Solar panels work best when you have south-facing roof space or open land with minimal shade. Wind turbines require consistent wind speeds above 10 mph and sufficient clearance from structures. Geothermal systems excel in areas with extreme temperature swings and properties where you’re already planning excavation or drilling work.
This guide walks you through the complete installation process for each technology, from initial site assessment to final verification. You’ll learn exactly which tools and materials each system requires, what safety precautions to take, and how to verify your installation is performing as expected.
Sarah Martinez, a renewable energy consultant based in Colorado, has guided over 300 installations across residential and commercial properties. “The biggest mistake people make is choosing a technology because it sounds exciting rather than evaluating what their property can actually support,” she explains. “A proper site assessment saves thousands in avoided mistakes and ensures you pick the system that delivers real results.”
Whether you’re looking to cut costs, increase property value, or reduce your carbon footprint, understanding these three renewable resources gives you the foundation to make an informed installation decision.
Essential Tools, Materials, and Professional Requirements
Before you break ground on any renewable energy project, assembling the right tools, securing proper permits, and knowing when to call in professionals will save you time, money, and headaches. The specific requirements vary based on which renewable resource you’re installing, but certain fundamentals apply across all three technologies.
For site assessment, you’ll need specialized evaluation tools. Solar projects require a solar pathfinder or shade analysis tool to map sun exposure throughout the year, while wind installations demand an anemometer to monitor wind speeds for at least several months. Geothermal systems need soil temperature probes and thermal conductivity testing equipment to determine ground loop efficiency. These assessment tools often justify hiring a professional energy auditor who can provide comprehensive data and recommend the optimal system size for your property’s characteristics.
- Solar systems: mounting rails, flashing, panel clamps, conduit, disconnect switches, inverters, monitoring equipment
- Wind installations: tower sections, guy wires, concrete for foundations, turbine controller, charge controllers, safety climbing gear
- Geothermal projects: drilling or trenching equipment, loop piping, heat exchanger fluid, indoor heat pump unit, manifolds and headers
- All systems: electrical panels, circuit breakers, grounding equipment, voltage meters, torque wrenches, basic hand tools
- Permits and inspections: building permits, electrical permits, utility interconnection agreements, zoning approvals, final inspection sign-offs
The permitting process typically takes two to eight weeks depending on your jurisdiction, so start early. Most municipalities require licensed electricians for final grid connections, even if you handle other installation aspects yourself. Complex electrical work, structural modifications, and drilling operations almost always demand professional expertise rather than DIY approaches.
Strategic planning extends beyond physical tools. Exploring renewable financing options early in your planning helps you understand budget constraints and cash flow implications before you commit to specific equipment. Professional installers provide warranties that DIY approaches can’t match, and their experience prevents costly mistakes that might void manufacturer guarantees or create safety hazards.
Critical Safety Warnings and Pre-Installation Considerations
Before you begin any renewable energy installation, understand that working with electricity, heights, and heavy equipment carries serious risks. Even experienced DIY enthusiasts should recognize when professional expertise isn’t optional, it’s essential for your safety and your investment.
Electrical work represents the most dangerous aspect of renewable installations. Never attempt to connect solar panels, wind turbines, or geothermal systems to your home’s electrical panel without proper training and licensing. Most jurisdictions require licensed electricians to perform grid connections, and for good reason: improper wiring can cause fires, electrocution, or damage to your property and the utility grid. Always shut off power at the main breaker before any electrical work, use insulated tools, and verify circuits are de-energized with a multimeter.
Structural assessments matter more than many homeowners realize. Rooftop solar arrays add significant weight, typically 3-4 pounds per square foot, that older roofs may not support safely. Wind turbine towers require engineered foundations capable of withstanding extreme lateral forces. Geothermal drilling can damage underground utilities, contaminate groundwater if done improperly, or destabilize your property’s foundation. Hire structural engineers for load calculations and soil engineers for geothermal assessments before breaking ground.
Building codes and utility regulations vary dramatically by location. What’s permitted in one county might be prohibited ten miles away. Obtain all necessary permits before starting work, installing without permits can result in fines, forced removal, denied insurance claims, and complications when selling your property. Your utility company has specific interconnection requirements that must be met for grid-tied systems, including inspections at multiple project stages.
Insurance implications deserve careful attention. Most homeowner’s policies exclude damage caused by unpermitted work or installations that don’t meet code. Notify your insurance company before starting any renewable project, as coverage adjustments may be necessary. Professional installations typically include liability coverage that protects you during the work.
Battery storage systems introduce additional hazards. Lithium-ion batteries can experience thermal runaway if improperly installed, maintained, or damaged, creating fire risks. These systems require dedicated spaces with proper ventilation, temperature control, and fire suppression considerations. Never install batteries in living spaces or areas without adequate clearances specified by manufacturers.
Know when to stop and call professionals: anytime you’re working at heights above one story, connecting to the electrical grid, drilling beyond ten feet deep, lifting equipment over 100 pounds, or feeling uncertain about any step. The cost of professional installation is always less than the cost of injury or catastrophic property damage.
Resource 1: Solar Energy Systems
Step-by-Step Solar Installation Process
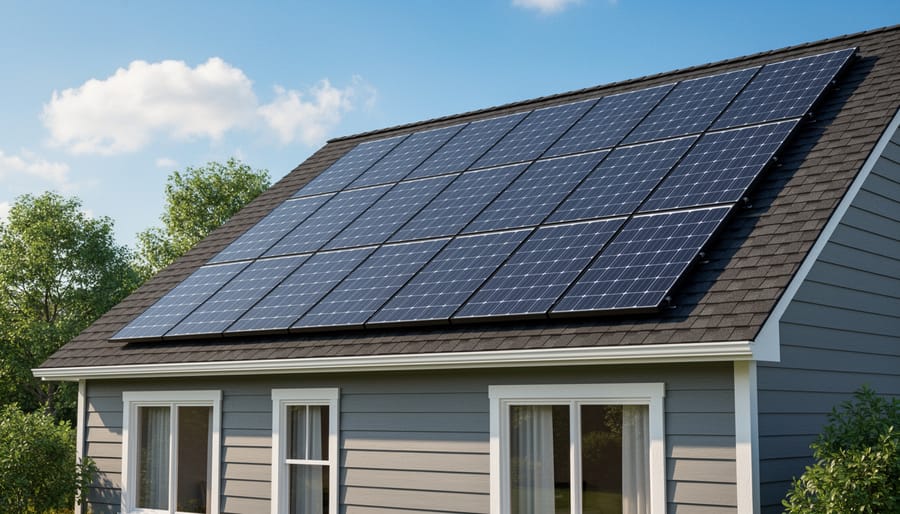
The path from deciding to go solar to flipping the switch follows a proven seven-step sequence. While a comprehensive solar step-by-step install guide covers every detail, understanding this streamlined process helps you set realistic expectations and identify where professional expertise matters most.
- Start with a thorough site assessment and energy audit. A professional will evaluate your roof’s structural capacity (it must support 2.5-4 pounds per square foot), measure solar access throughout the day using shading analysis tools, and review 12 months of your electricity bills to determine your actual consumption patterns. Common pitfall: skipping the structural engineer’s report on older roofs, which can force costly mid-project delays.
- Move into system design and component selection. Based on your energy needs and 2026 solar system costs choose between monocrystalline panels (higher efficiency, premium price) or polycrystalline options (budget-friendly). This stage involves V Systems engineering to optimize panel placement, string configurations, and inverter matching. Technical tip: oversizing your inverter capacity by 15-20 percent accommodates future expansion.
- Handle permitting and utility notification before ordering materials. Submit building permit applications, electrical permits, and interconnection agreements to your utility company. This paperwork typically takes 2-4 weeks but varies widely by jurisdiction.
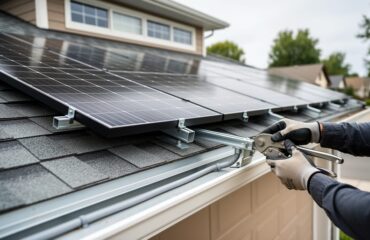
- Prepare the roof and install mounting hardware. Locate rafters precisely (stud finders work, but physical measurements prevent mistakes), apply flashing around each penetration point to maintain waterproofing, and secure rail systems level within 1/8 inch tolerance. Never mount directly into roofing material without proper waterproof sealing.
- Position panels and complete all wiring. Snap modules into rails following the electrical diagram, maintain proper wire management in weatherproof conduit, and double-check polarity at every connection. Rushed wiring causes 40 percent of first-inspection failures.
- Install the inverter and monitoring system in a shaded, ventilated location near your main electrical panel. Connect DC input from panels, AC output to the grid, and configure the monitoring software for real-time production tracking.
- Schedule final inspection and grid connection. The local building inspector and utility representative will verify code compliance, test safety disconnects, and authorize permission to operate. Only after approval should you energize the system.
Each stage builds on the previous one, so resist the temptation to skip ahead or combine steps to save time. The inspection process catches mistakes, and proper sequencing prevents expensive rework.
Real Success Story: Commercial Solar Transformation
When a mid-sized manufacturing facility in Portland approached Jumping Cable Solar Homes in early 2025, their monthly electricity bills exceeded $8,200. The company wanted to reduce overhead without compromising production capacity.
After conducting a thorough energy audit, our team designed a 175-kilowatt rooftop solar array tailored to the facility’s consumption patterns. We structured a Power Purchase Agreement that eliminated upfront costs entirely. The client paid only for the solar electricity generated at a fixed rate 22% below their utility’s commercial pricing.
Installation took just three weeks, scheduled during planned maintenance shutdowns to avoid disrupting operations. The system went live in June 2025.
Within the first year, the facility reduced its grid electricity purchases by 68%, saving approximately $67,000 annually. The PPA’s fixed rate also protected them from utility rate increases that affected neighboring businesses.
By 2026, management approved expanding the system with an additional 50 kilowatts and battery storage. The initial success story demonstrated how strategic financing transforms solar from a capital expense into an immediate operating cost reduction, making renewable energy accessible regardless of available cash reserves.
Resource 2: Small-Scale Wind Energy Systems
Step-by-Step Wind System Installation Process
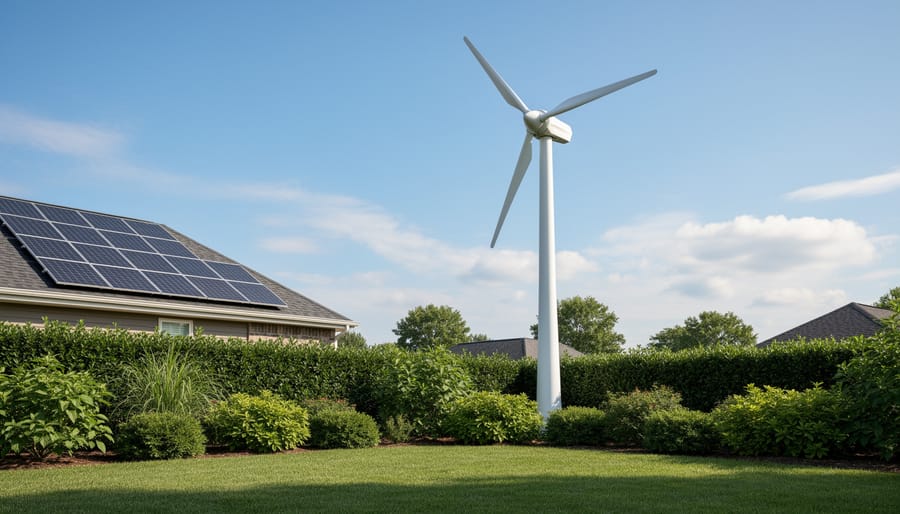
Installing a small-scale wind turbine requires patience and precision, as each phase builds on careful preparation. Unlike solar panels that can go up in a day, wind systems demand a longer commitment, but the payoff in consistent energy production makes it worthwhile.
- Wind Resource Assessment and One-Year Data Collection: Mount an anemometer at your proposed turbine height to record wind speeds continuously. While manufacturers claim minimum speeds of 10-12 mph, you need actual site data across all seasons. Many installers discover that winter winds are strongest, while summer readings disappoint. Document patterns for twelve months before purchasing equipment, this prevents costly mistakes on marginal sites.
- Zoning Approval and Neighbor Consultation: Submit your plans to local zoning boards early, as approvals can take three to six months. Most jurisdictions require setbacks equal to the tower height plus ten feet from property lines. Talk with neighbors before filing permits; address concerns about noise (modern turbines are quieter than you’d expect) and shadow flicker. Some homeowners associations prohibit turbines entirely, so verify restrictions first.
- Tower Foundation and Structural Preparation: Excavate and pour a reinforced concrete foundation sized to manufacturer specifications, typically four to six feet deep for towers up to 80 feet. The foundation must cure for at least two weeks. Prepare guy anchor points if using a guyed tower, spacing them 120 degrees apart. Run conduit from the foundation to your electrical panel location before backfilling.
- Turbine Assembly and Tower Erection: Assemble the turbine head on the ground, following torque specifications exactly. Never work alone during tower raising, you’ll need at least three experienced people and a gin pole or crane for towers above 60 feet. Wear fall protection harnesses even during ground assembly. Raise the tower slowly, watching for overhead power lines. OSHA-approved climbing equipment is mandatory if you’ll access the turbine for maintenance.
- Electrical Connection and Controller Setup: Wire the turbine to its dedicated controller and dump load (which dissipates excess energy when batteries are full or the grid connection is down). Install a disconnect switch at ground level for emergency shutdown. The controller should include over-speed protection and automatic braking functions. Ground the tower and turbine with copper wire to a proper earth ground, inadequate grounding invites lightning damage and creates serious shock hazards.
- System Commissioning and Testing: Start with the turbine brake engaged. Verify all electrical connections, then release the brake during moderate winds (15-20 mph) for initial testing. Monitor voltage output, amperage, and any unusual vibrations or sounds. Check guy wire tension after the first week of operation, as new cables stretch under load. Schedule your utility inspection before connecting to the grid.
The commissioning phase reveals whether your year of planning paid off. Watch your monitoring system during the first month, production should align with your data projections. If output falls short, check blade pitch and tower height before assuming your site simply underperforms.
When Wind Energy Makes Financial Sense
Wind energy becomes financially viable when your property has consistent average wind speeds above 11 mph and you can capitalize on the 30% federal Investment Tax Credit still available through 2032. Unlike solar, wind systems require more upfront capital, typically $15,000 to $75,000 depending on turbine size, but properties with strong wind resources can see break-even points between 6 and 15 years.
Calculate your potential ROI by tracking your property’s wind speed for at least one year, then multiply your average monthly electricity cost by 40-90% (your likely offset percentage). Strategic financing through specialized renewable energy loans or Property Assessed Clean Energy (PACE) programs can eliminate the barrier of high upfront costs. Many wind turbine owners report annual maintenance costs of just 1-3% of initial investment, primarily for inspections, bearing lubrication, and occasional brake adjustments, making operational expenses manageable once the system is running.
Small commercial operations often see faster returns than residential installations because higher energy usage means greater offset value, and businesses can leverage accelerated depreciation benefits alongside tax credits.
Resource 3: Geothermal Heat Pump Systems
Step-by-Step Geothermal Installation Process
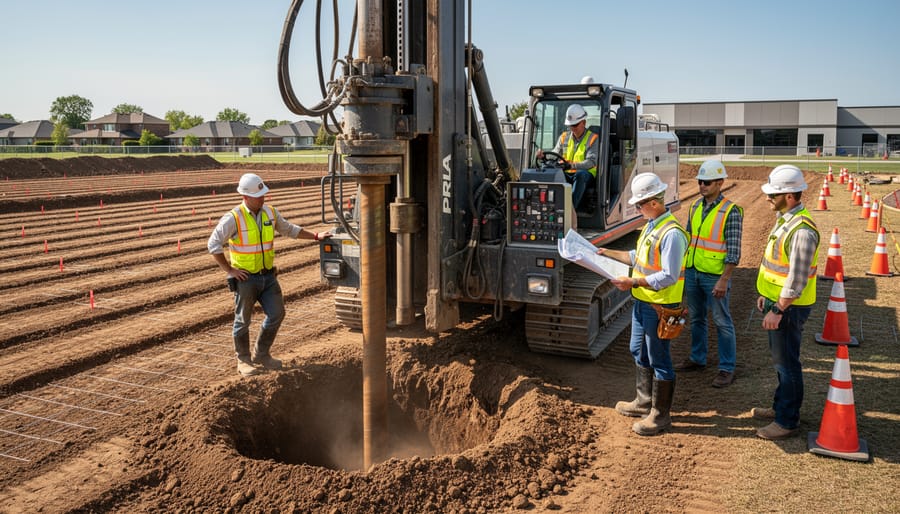
Geothermal installations require careful planning and professional expertise, particularly for the ground loop components. While you can handle some aspects yourself, drilling and loop installation demand specialized contractors with proper equipment and licensing.
- Property Assessment and Soil Analysis: A certified geothermal installer conducts a thorough site evaluation, examining soil composition, moisture content, and thermal conductivity. They’ll also test groundwater availability if you’re considering an open-loop system. This assessment determines whether horizontal trenching (requiring at least half an acre) or vertical drilling suits your property better.
- System Sizing and Loop Configuration Selection: Based on your home’s heating and cooling load calculations, the installer sizes the heat pump capacity (typically 2-5 tons for residential properties) and designs the ground loop field. Factors include local climate, soil conditions, and existing ductwork capacity. The configuration choice directly affects geothermal heat pump efficiency and installation costs.
- Drilling or Trenching for Ground Loops: Professional drilling contractors bore vertical holes 150-400 feet deep for closed-loop systems, or excavate horizontal trenches 4-6 feet deep spanning your yard. This stage generates significant disruption but typically completes within 1-3 days for most residential projects.
- Loop Installation and Pressure Testing: High-density polyethylene pipes are inserted into boreholes or laid in trenches, then connected to supply and return headers. The entire loop system undergoes pressure testing at 100 psi for 24 hours to verify no leaks exist before backfilling.
- Indoor Heat Pump Unit Installation: Technicians position the heat pump unit near your existing furnace location, connecting it to the ground loop lines that enter through your foundation.
- Ductwork Integration or Modification: Existing ductwork often requires upgrades to handle the heat pump’s airflow characteristics, including resizing supply registers and adding return air paths.
- System Startup and Performance Verification: The installer charges the system with refrigerant, purges air from ground loops, and runs complete heating and cooling cycles while monitoring temperatures and pressures to confirm proper operation.
Combining Geothermal with Solar for Maximum Efficiency
Pairing solar panels with a geothermal heat pump creates one of the most efficient renewable energy combinations available. The solar system generates electricity at zero marginal cost once installed, while the geothermal heat pump uses that power to move heat rather than generate it, achieving efficiency rates of 300-500%. This means every kilowatt-hour your solar panels produce delivers three to five times the heating or cooling value compared to traditional electric resistance systems.
The synergy works particularly well because geothermal systems operate year-round, giving your solar investment consistent value even during shoulder seasons when heating and cooling demands are moderate. Properly sizing both systems together helps maximize solar ROI by ensuring your panels generate enough power to cover the heat pump’s electrical draw.
A residential client in the Midwest worked with Jumping Cable Solar Homes to install an 8kW solar array alongside a four-ton geothermal system. After one year, their combined energy bills dropped 87%, with the solar panels covering all geothermal operation costs plus most household electricity needs. The integrated approach cut their payback period by nearly three years compared to installing either system alone.
Verification, Testing, and Next Steps After Installation
Once your renewable energy system is operational, verifying proper performance is critical to realizing your investment. Start with a complete inspection within the first 48 hours, checking all electrical connections, mounting integrity, and system startup sequences specific to your installation type.
Your monitoring system becomes your first line of defense for catching issues early. Modern solar inverters, wind turbine controllers, and geothermal heat pump displays provide real-time production data accessible through smartphone apps or web portals. Compare actual output against your installer’s projected performance within the first full week of operation, solar systems should reach 90-95% of predicted output under ideal conditions, while geothermal systems typically show consistent temperature differentials within manufacturer specifications. If your utility installed a bi-directional meter for grid-tied systems, verify it’s registering both consumption and generation correctly; discrepancies here can affect your net metering credits and should be resolved immediately.
Document baseline performance during the first month to establish your system’s normal operating range. Track daily production totals, peak output times, and any error codes or shutdowns. This data proves invaluable when troubleshooting future performance dips or filing warranty claims.
- Solar systems: quarterly panel cleaning, annual electrical connection inspection, inverter firmware updates as needed
- Wind turbines: monthly visual tower inspection, semi-annual brake and bearing service, three-year gearbox maintenance
- Geothermal systems: annual loop pressure check, quarterly air filter replacement, five-year heat pump compressor service
Most homeowners see positive cash flow from solar within 6-10 years through utility savings, while geothermal systems typically break even in 8-12 years due to heating and cooling cost reductions. Wind systems vary more widely based on local wind resources but generally reach payback in 10-15 years.
Consider energy storage integration once your system’s production patterns are established, typically after six months of operation. Battery backup makes sense when you’ve identified excess daytime solar production or want resilience during grid outages. Jumping Cable Solar Homes offers post-installation assessments to identify optimization opportunities, from adding panels to existing arrays to integrating battery systems that maximize self-consumption. Their strategic financing programs can also help fund system expansions without upfront capital, turning good renewable energy investments into great ones.
Frequently Asked Questions About Renewable Energy Installation
Can I install multiple renewable systems together on the same property?
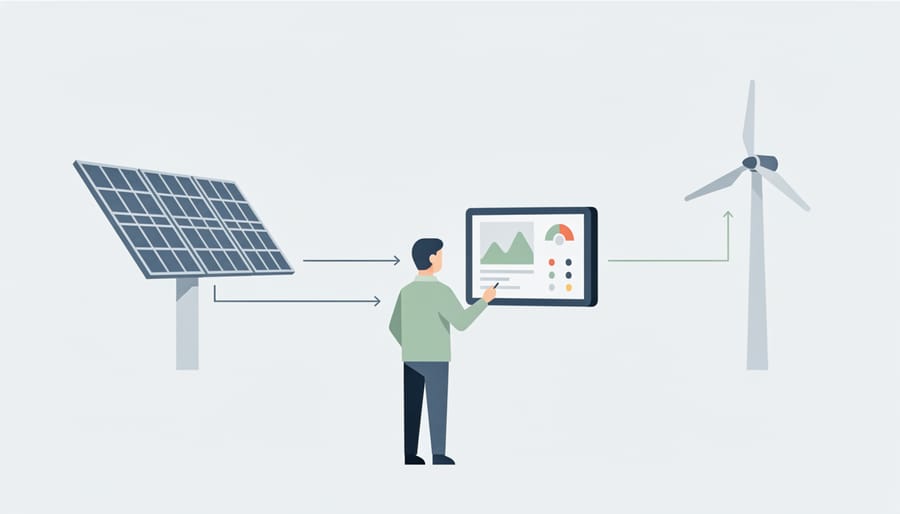
Absolutely. Combining solar panels with geothermal heat pumps or adding a small wind turbine to an existing solar array often maximizes your energy independence and return on investment. The key is proper electrical integration and ensuring your inverter and panel capacity can handle multiple inputs.
How long does installation typically take for each renewable energy type?
Solar installations usually take one to three days for residential systems once permits are approved. Wind turbine installations require two to five days depending on tower height and foundation work. Geothermal systems take the longest, typically one to two weeks, because of the drilling or trenching required for ground loops.
What financing options work best for different budget levels?
For limited budgets, solar leases or power purchase agreements require no upfront costs. Mid-range budgets benefit from secured loans with tax credit offsets, while larger budgets can leverage cash purchases for maximum long-term savings. Strategic financing through specialized renewable energy lenders often provides the most flexible terms regardless of budget size.
When should I call a professional instead of attempting DIY installation?
Always hire professionals for electrical grid connections, geothermal drilling, wind turbine tower erection, and roof structural modifications. You’ll risk voiding warranties, failing inspections, and creating serious safety hazards without proper expertise and licensing for these critical components.
Beyond these common concerns, many property owners wonder how to choose between solar, wind, and geothermal when they can only invest in one system initially. Start with your property’s strongest resource: abundant sunlight favors solar, consistent winds above 10 mph support wind turbines, and properties with heating and cooling needs benefit most from geothermal. Run an energy audit to identify where you’re spending the most money, that’s typically where you’ll see the fastest payback.
Maintenance requirements vary significantly by system type. Solar panels need occasional cleaning and annual electrical inspections but have no moving parts to wear out. Wind turbines require more attention, including annual gearbox lubrication, blade inspections, and brake checks every few years. Geothermal systems need the least maintenance, just annual filter changes and periodic refrigerant checks, making them ideal for hands-off property owners.
Weather and climate absolutely influence system performance, though perhaps not how you’d expect. Solar works in cloudy climates, just at reduced efficiency, while extreme heat actually decreases panel output slightly. Wind systems perform best in consistently breezy areas rather than occasionally gusty ones. Geothermal remains the most climate-independent option since ground temperatures stay constant year-round, delivering reliable heating and cooling regardless of surface weather conditions.
The three renewable energy resources covered in this guide, solar, wind, and geothermal, are more accessible than ever in 2026. Whether you choose one system or combine multiple technologies, you’re making a decision that pays dividends both financially and environmentally. The installation processes may seem complex at first glance, but breaking them into manageable steps makes renewable energy achievable for any property owner.
Your first step is simpler than you might think: schedule a professional energy assessment. This evaluation identifies which resources match your property’s characteristics, energy needs, and budget. Jumping Cable Solar Homes provides comprehensive support throughout your renewable energy journey, from initial site analysis and system design through installation, ongoing maintenance, and strategic financing solutions tailored to your situation.
The renewable systems you install today reduce your energy costs for decades while contributing to a cleaner environment. Each kilowatt-hour generated from solar panels, wind turbines, or geothermal heat pumps represents both money saved and carbon emissions avoided. You’re not just investing in infrastructure; you’re building energy independence and taking tangible action on sustainability goals.
The technology exists. The financing options are available. The environmental imperative is clear. Now it’s your turn to harness these three essential renewable energy resources.