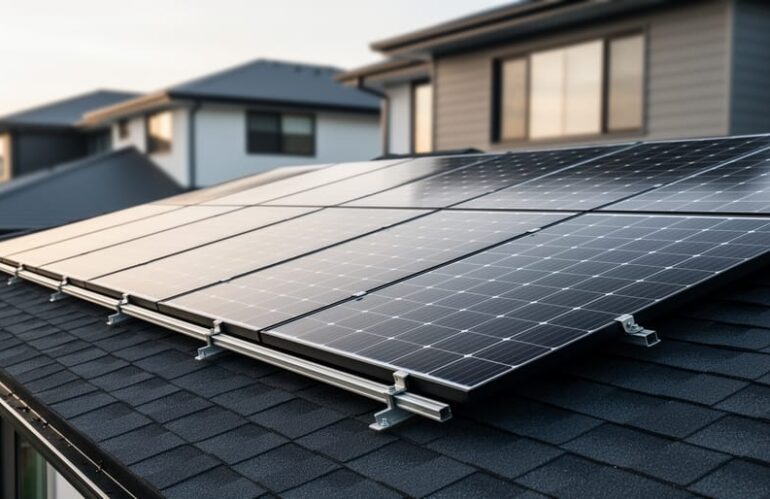
Installing a solar energy system on your property typically takes two to five days and transforms your roof into a power-generating asset that can eliminate or drastically reduce your electricity bills for decades. The process involves mounting solar panels on your roof or property, connecting them to an inverter that converts DC power to usable AC electricity, and integrating the system with your electrical panel and utility grid. While some experienced DIYers tackle smaller installations themselves, most homeowners benefit from professional installation to ensure proper permitting, electrical safety, and optimal system performance.
The decision to install solar in 2026 comes at a pivotal moment. Equipment costs have dropped significantly over the past decade, federal tax credits remain available, and many states offer additional incentives that make solar more accessible than ever. Sarah Martinez, a solar engineer with 15 years of field experience, notes that “the technical side of installation has become more standardized, but the planning phase matters more than people realize. Site assessment, load calculations, and permit compliance set the foundation for a system that performs well for 25-plus years.”
Understanding what happens during installation helps you prepare your property, ask the right questions when vetting contractors, and recognize quality workmanship. Whether you’re exploring a DIY approach for a small off-grid cabin or hiring a certified team for a full residential system, knowing the core steps, safety requirements, and verification procedures puts you in control. This guide walks you through the complete installation process so you can move forward with confidence.
Understanding Your Solar Energy System Components
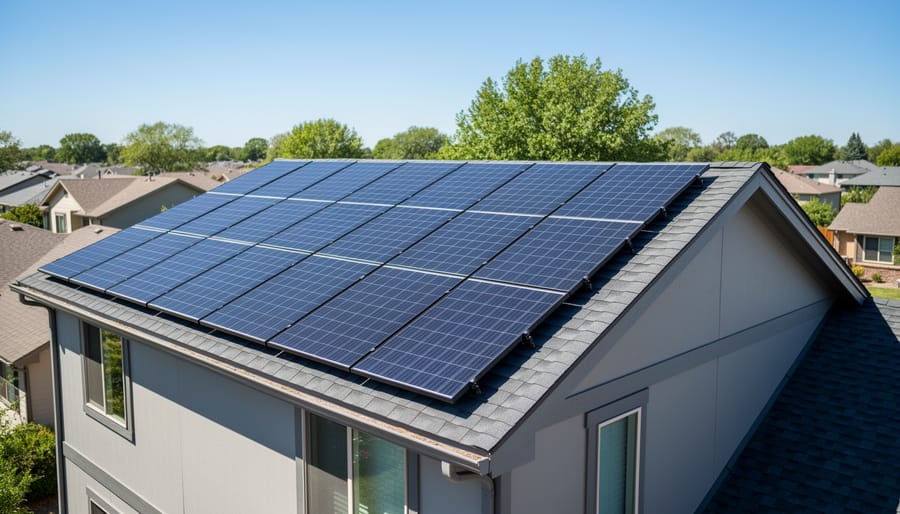
Before installing a solar energy system, you need to understand what you’re actually putting on your property. Each component plays a specific role in capturing sunlight and converting it into usable electricity for your home or business.
Solar panels are the most visible part of your system. These modules contain photovoltaic cells that convert sunlight directly into direct current (DC) electricity. Most residential systems use monocrystalline or polycrystalline panels rated between 300 and 400 watts each. The number of panels you need depends on your energy consumption and available roof space.
The inverter transforms the DC power from your panels into alternating current (AC) electricity that your appliances can use. String inverters handle multiple panels connected in series, while microinverters attach to individual panels for independent operation. Your choice affects system performance, especially if shading is an issue.
Mounting hardware secures panels to your roof or ground. Racking systems include aluminum rails, clamps, and brackets engineered to withstand wind loads and weather while maintaining proper panel orientation. Flashing and sealants prevent water intrusion at roof penetration points.
Your electrical panel receives the converted AC power and distributes it throughout your property. Many installations require a service upgrade or subpanel to handle the additional power source safely. The system also includes disconnect switches, circuit breakers, and a production meter.
Battery storage is optional but increasingly popular. Lithium-ion batteries store excess solar energy for use during nighttime or outages, providing energy independence and backup power capability.
Monitoring systems track your energy production and consumption in real time through apps or web dashboards. These tools help you verify system performance, identify issues quickly, and optimize your energy usage patterns.
Understanding these components helps you communicate effectively with installers, make informed decisions about system design, and recognize quality workmanship during installation.
What You Need Before Installation: Tools, Materials, and Permissions
Essential Tools and Equipment
Professional solar installation requires a mix of standard construction tools and specialized electrical equipment. Your installer will arrive with a comprehensive toolkit, but understanding what’s needed helps you verify their preparedness and capability.
Standard Construction Tools:
– Cordless drill with various bits for pilot holes and fasteners
– Socket wrench set for mounting hardware
– Tape measure and chalk line for layout precision
– Level (4-foot minimum) to ensure proper panel alignment
– Ladder rated for roof access with proper weight capacity
– Safety harness and roof anchors for fall protection
Specialized Solar Equipment:
– Wire strippers and crimpers for DC electrical connections
– Torque wrench to meet manufacturer specifications (typically 10-15 ft-lbs for panel clamps)
– Multimeter for voltage and continuity testing
– Conduit benders for electrical runs
– Flashing and sealant kits for waterproof roof penetrations
– Cable ties and management systems for clean wiring
Licensed installers also carry code-compliant grounding equipment, MC4 connectors, and system-specific mounting hardware. If you’re evaluating quotes, ask contractors about their equipment inventory, professional outfits invest in quality tools that ensure code compliance and long-term system reliability.
Permits and Pre-Installation Approvals
Before any physical work begins, you must secure the proper approvals and permits for your solar installation. Most professional installers handle this paperwork as part of their service, but understanding the requirements helps you track progress and avoid delays.
Building permits are required in nearly all jurisdictions to ensure your solar array meets structural and fire safety codes. Your installer submits structural calculations, roof layout plans, and equipment specifications to the local building department. Electrical permits follow, covering the wiring from panels to inverter and the connection to your electrical panel. Both permits typically require inspections at specific milestones before the system can be activated.
The utility interconnection agreement is equally critical. This formal application allows your system to connect to the grid and establishes net metering terms where available. Your utility reviews the proposed system capacity, verifies grid compatibility, and may require upgraded meters or additional equipment. Some utilities process applications quickly, while others have longer backlogs.
If you live in a community with a homeowners association, you may need HOA architectural approval. Federal and state laws in many areas limit HOA authority to deny solar installations, but they can often dictate placement and appearance.
The typical 2026 approval timeline ranges from two to eight weeks depending on your location and the complexity of your system. Building and electrical permits often arrive within two to four weeks in efficient jurisdictions, while utility interconnection can take four to twelve weeks in areas with high solar adoption rates. Starting the permitting process early prevents installation delays once you are ready to proceed.
Critical Safety Warnings and Precautions
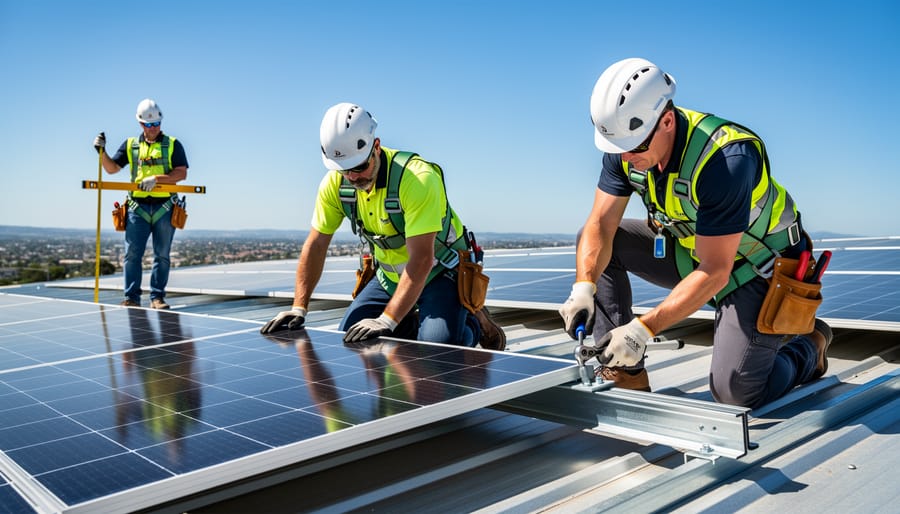
Solar energy system installation involves serious hazards that demand respect and preparation. The three primary risks are electrical shock from live DC and AC circuits, falls from elevated work surfaces, and structural damage from improper mounting. Each year, dozens of installer injuries occur from underestimating these dangers.
Electrical risks begin the moment panels see sunlight. Unlike AC systems you can switch off, solar arrays produce up to 600 volts DC in full sun with no off switch until connections are complete. Improper wiring, wet conditions, or damaged insulation can cause fatal shocks. String inverters and combiner boxes carry similar high-voltage DC that requires specialized training to handle safely.
Fall hazards are equally serious. Most residential installations occur 15 to 30 feet above ground on sloped roofs. Installers need proper fall arrest systems, harnesses, anchor points, and guardrails, not just caution. Rushing or working in wind above 20 mph dramatically increases fall risk.
Structural concerns include roof penetrations that compromise waterproofing and mounting systems that exceed load ratings. Incorrectly installed flashing causes leaks that appear months later. Overloaded roof sections can crack rafters or, in extreme cases, cause collapse under snow load.
Personal protective equipment is non-negotiable: hard hats, safety glasses, insulated gloves rated for DC voltage, non-slip footwear, and fall protection gear. Ground-level work still requires gloves and eye protection when cutting metal racking or handling panels with sharp edges.
When to hire professionals: any project involving roof work above single-story height, electrical panel modifications, utility interconnection, or commercial-scale systems requires licensed contractors. Most jurisdictions won’t permit owner-installed systems without demonstrated electrical certification. Small ground-mount arrays on level sites represent the only realistic DIY scenario, and even then, hire an electrician for the final connections.
Step-by-Step Solar Energy System Installation Process
Step 1: Conduct Site Assessment and System Design
Before a single panel reaches your roof, a qualified solar installer maps your property’s energy profile and structural capacity. This assessment begins with a roof inspection, checking age, condition, material type, and load-bearing ability to confirm it can support 30-40 pounds per panel for 25+ years. Installers measure roof pitch, orientation, and available square footage, then use solar pathfinder tools or drone imaging to identify shading from trees, chimneys, or neighboring buildings that could reduce output.
Next, they analyze your electrical service panel capacity, typically requiring 200-amp service for most residential systems, and review 12 months of utility bills to establish your average daily energy consumption. This data feeds into the design phase, where software models panel placement for maximum sun exposure, calculates inverter sizing to match expected production, and creates an engineering blueprint detailing wiring paths, conduit runs, and equipment locations. The final design balances energy goals with budget, roof constraints, and local code requirements, delivering a system sized precisely for your needs rather than a one-size-fits-all solution.
Step 2: Install Mounting Hardware and Racking System
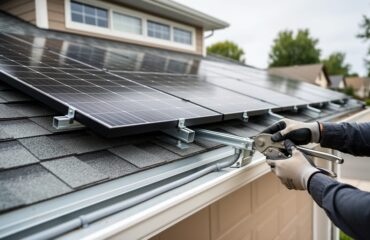
The mounting system forms the structural foundation that will support your panels for 25+ years, so precision matters here. Professional installers begin by locating roof rafters with a stud finder, then marking where each bracket will attach, typically every 4 feet along horizontal rails. They drill pilot holes carefully to avoid damaging roofing materials, then seal each penetration point with flashing and roofing sealant before bolting lag bolts directly into rafters.
For asphalt shingle roofs, installers use flashed L-brackets that slide under shingles to create watertight seals. Metal roofs often require standing seam clamps that attach without penetrations. Tile roofs need tile replacement hooks, while flat roofs use ballasted systems with weighted trays, no roof penetrations required. Our garage roof guide walks through mounting considerations for detached structures.
Once brackets are secured, horizontal aluminum rails are attached and leveled precisely. Installers verify rail alignment with a laser level since even small deviations affect panel placement. All hardware gets torqued to manufacturer specifications, undertightening risks panel movement in high winds, while overtightening can crack tiles or strip threads. Ground-mount installations follow similar principles but use concrete footings or helical piles driven below the frost line for stability.
Step 3: Position and Secure Solar Panels
With the racking system secure, it’s time to position the solar panels, a process that demands precision and care.
Professional installers typically work in teams of two or three for this phase. Panels weigh between 40 and 50 pounds each, making safe lifting and handling critical. Workers use rope-and-pulley systems or mechanical lifts to transport panels to rooftops without damaging shingles or risking injury.
Each panel slides into the racking rails and locks into mid-clamps and end-clamps. Installers leave a one- to two-inch gap between panels for thermal expansion and airflow, which prevents overheating and maintains efficiency. Proper alignment ensures panels face the correct azimuth and tilt angle calculated during site assessment.
Torque specifications matter more than most homeowners realize. Under-torqued bolts allow panels to shift in high winds; over-torqued fasteners can crack panel frames. Professional crews use calibrated torque wrenches set to manufacturer specs, typically 8 to 12 foot-pounds for mounting hardware.
Before moving to the next row, installers double-check that all panels sit flush and level. Misaligned panels create shading issues and reduce system output by as much as 15 percent.
Step 4: Wire Solar Panels and Install Inverter
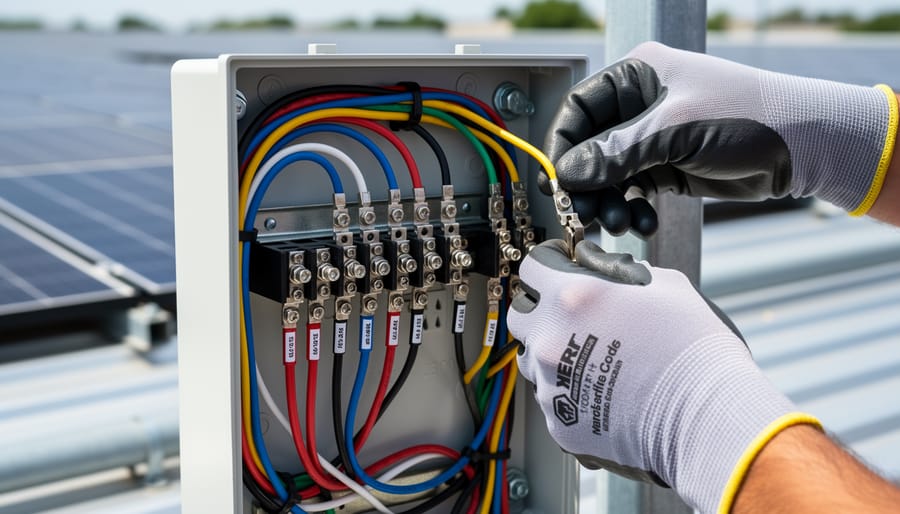
With panels secured, the electrical work begins. This step converts raw sunlight into usable power, and proper execution is critical for safety and performance.
DC wiring runs from each panel through conduit to the inverter location. Installers use appropriately rated MC4 connectors and cables, typically 10 AWG or thicker, depending on system voltage and current. Series connections link panels into strings, while parallel connections combine multiple strings. Wire management must be neat, protected from weather, and secured to prevent chafing or damage over decades of service.
Grounding is non-negotiable. Every panel frame connects to the grounding system through bonding jumpers or integrated rail grounding. A grounding rod drives into the earth near the inverter, and all metal components tie into this system. Proper grounding prevents shock hazards and protects equipment from lightning strikes.
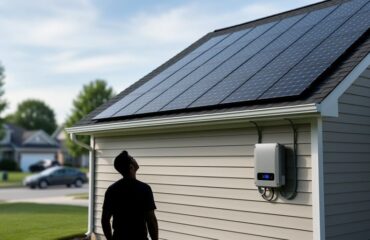
Inverter installation varies by type. String inverters mount on an exterior wall or in a garage, connected to all panel strings. Microinverters attach directly beneath each panel on the racking. Power optimizers sit under panels but feed a central inverter. Each configuration has specific mounting, ventilation, and clearance requirements per manufacturer specifications and NEC code.
Safety disconnects install between panels and inverter, and between inverter and electrical panel. These labeled switches allow emergency shutdown and maintenance isolation. This wiring phase requires licensed electrician expertise, errors here create fire risks, code violations, and system failures.
Step 5: Connect to Electrical Panel and Utility Grid
Once the inverter converts DC power from your solar panels to usable AC electricity, it must be safely integrated into your property’s main electrical panel. This connection point is where your solar system begins supplying power to your home or business and where excess energy feeds back to the utility grid.
A licensed electrician installs a dedicated circuit breaker in your electrical panel for the solar system. This breaker connects the inverter output while providing a critical disconnect point for safety and maintenance. The breaker size matches your system capacity, typically 20 to 60 amps for residential installations.
The utility company installs a bi-directional production meter that tracks both energy you consume from the grid and surplus energy your system exports. This meter is essential for net metering programs, which credit you for excess production at retail or wholesale rates depending on your utility’s policy.
Your installer submits interconnection paperwork to the utility, who then inspects the installation and upgrades the meter. This approval process takes one to six weeks in most areas during 2026. Once approved, your utility activates net metering, and your system can legally operate at full capacity. The production meter immediately begins tracking your energy contributions to the grid.
Step 6: Install Monitoring System and Battery Storage (If Applicable)
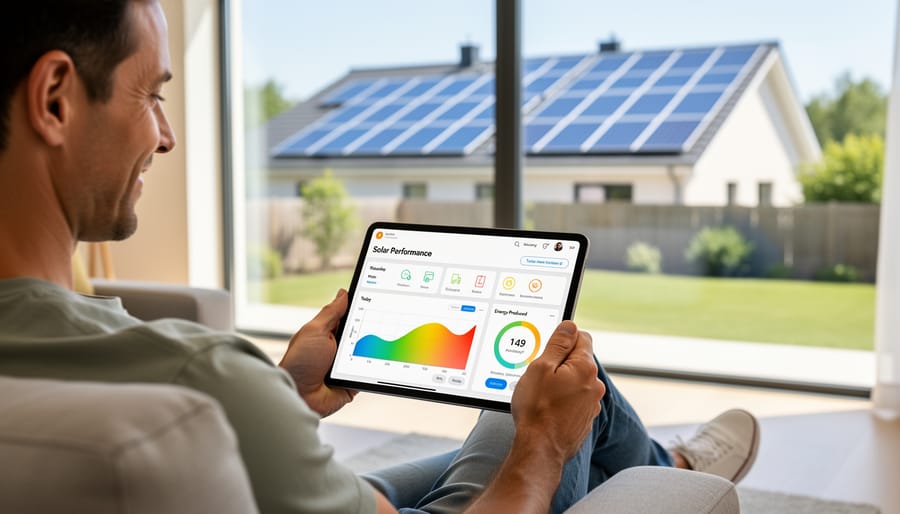
With the solar panels, inverter, and grid connection in place, Step 6 focuses on two components that maximize control and resilience: the monitoring system and optional battery storage.
Setting Up the Monitoring System
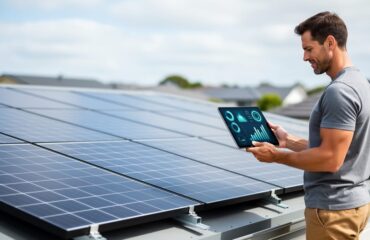
Your installer will configure monitoring hardware, typically a small gateway device that connects to your inverter via Wi-Fi or cellular signal. This communicates real-time production data to a web portal or mobile app, allowing you to track how much energy your panels generate, how much your property consumes, and your net grid usage. Most systems from manufacturers like Enphase, SolarEdge, or Tesla include monitoring at no extra cost. The installer verifies connectivity, calibrates sensors, and walks you through the app interface so you can spot performance drops immediately.
Integrating Battery Storage
If you’ve opted for battery backup, increasingly popular in 2026 for energy independence and outage protection, the installer mounts the battery unit (often wall-mounted indoors or in a garage), connects it to the inverter, and configures charge/discharge settings. Batteries like the Tesla Powerwall or LG Chem RESU store excess daytime solar production for evening use or emergency power during grid failures. The installer programs backup circuits, tests switchover during simulated outages, and ensures the battery communicates with your monitoring system for full visibility into stored energy levels.
Verification, Testing, and System Activation
Once your panels are wired and connected, the real work begins: proving the system is safe, compliant, and ready to produce power. Verification isn’t optional, it’s the gatekeeper between installation and activation, and it protects both your investment and your property.
Start with electrical testing. Your installer will use a multimeter to verify DC voltage from the solar array matches design specifications, check polarity on all string connections, and confirm grounding resistance meets National Electrical Code standards. They’ll test the inverter’s ability to convert DC to AC power cleanly, ensuring voltage and frequency match grid requirements. Any readings outside acceptable ranges must be corrected before moving forward.
Next comes the inspection phase. Your local building department will schedule a site visit to review structural mounting, electrical connections, and code compliance. The inspector checks for proper conduit runs, correct wire sizing, accessible disconnects, and secure panel attachments. Pass this inspection, and you’ll receive a sign-off that clears you for the next step.
Utility approval is the final hurdle. Submit your inspection certificate and interconnection agreement to your utility company, who will review the application and install a bi-directional meter if needed. This process typically takes two to four weeks in 2026. Once you receive Permission to Operate (PTO), your installer flips the system on.
Monitor the first 72 hours closely. Your monitoring app should show steady production during daylight hours, with output curves matching sun patterns. Compare actual kilowatt-hour production to installer projections, minor variations are normal, but significant shortfalls warrant immediate follow-up. Within 30 days, review cumulative production data to maximize solar ROI and confirm your system performs as promised.
What to Expect After Installation: Next Steps and Maintenance
Once your system passes final inspection and goes live, energy production begins immediately. Your monitoring system will display real-time output, typically accessible via smartphone app or web portal. Check your dashboard daily for the first week to confirm panels are generating expected kilowatt-hours based on weather conditions and your system’s rated capacity.
Expect changes to your utility bill within the first billing cycle. Net metering customers will see energy credits when production exceeds consumption, while others will notice reduced electricity purchases. Some utilities issue separate solar production statements alongside your consumption bill. Register your system warranties promptly, panel manufacturers typically require registration within 90 days of installation to activate 25-year performance guarantees, while inverter warranties (10-25 years) often auto-activate but should be documented with your installer’s completion certificate.
Routine maintenance keeps your system operating at peak efficiency. Solar installations require minimal upkeep, but regular attention prevents performance degradation:
- Clean panels every 6 months or after heavy dust/pollen seasons (more frequently in arid climates)
- Inspect inverter display monthly for error codes or performance warnings
- Check electrical connections and mounting hardware annually for corrosion or loosening
- Trim nearby trees or vegetation yearly to prevent new shading issues
- Review monitoring data quarterly to identify gradual efficiency drops
Most inverters indicate normal operation with a steady green light. If you see red or flashing indicators, consult your monitoring system for diagnostic codes before contacting your installer. Professional inspections every 3-5 years catch potential issues early, though many installers include complimentary check-ups during the warranty period. Well-maintained systems consistently deliver 80-85% of original capacity after 25 years.
Real-World Success Story: Commercial Solar Installation
When Riverside Manufacturing approached Jumping Cable Solar Homes in early 2026, their monthly electric bills exceeded $4,800, cutting into already tight margins. The 150kW commercial installation presented immediate challenges, a complex roof structure with multiple elevations and aging electrical infrastructure that required upgrading before solar integration.
Our team completed the full assessment, permitting, and installation in just six weeks. We reinforced critical roof sections, installed a hybrid system combining string inverters with power optimizers for shaded areas, and coordinated utility interconnection without disrupting daily operations.
The results exceeded expectations. Riverside now generates 92% of their daytime energy needs, reducing monthly costs by $3,600. With strategic financing through our partners, their monthly solar payment sits at $2,100, netting $1,500 in immediate monthly savings while building equity in a 25-year asset.
Even better, actual 2026 system costs came in 18% below their initial budget thanks to improved equipment pricing and federal tax incentives. The system paid for itself in under seven years, with projected lifetime savings topping $890,000.
Frequently Asked Questions About Solar Installation
How long does a typical solar installation take?
Most residential solar installations take one to three days once permits are approved and equipment arrives on site. The permitting process itself usually takes two to eight weeks in 2026, depending on local jurisdiction workloads. Commercial installations require longer timeframes, often one to two weeks for larger systems, due to increased complexity and scale.
What factors influence solar installation costs?
Installation costs vary based on system size, roof complexity, panel quality, and local labor rates. A steeper roof or one requiring structural reinforcement adds expenses, as does choosing premium equipment like microinverters over string inverters. Geographic location matters too, installation costs in urban areas with higher permitting fees and labor costs typically run 15-20% more than rural regions.
Can I finance my solar installation?
Yes, multiple financing options exist including solar loans, leases, and power purchase agreements (PPAs). Strategic energy planning through Jumping Cable Solar Homes helps identify the best financial structure for your situation, maximizing tax credits and incentives while minimizing upfront costs.
What roof conditions are required for solar panels?
Your roof should have at least 15-20 years of remaining lifespan, since removing and reinstalling panels for roof replacement is costly. The structure must support the additional weight, about 3-4 pounds per square foot, and have minimal shading from trees or nearby buildings.
Is DIY solar installation realistic for homeowners?
DIY installation is technically possible but not recommended for grid-tied systems. Licensed electricians must handle utility interconnection and electrical work to meet code requirements and maintain warranties. Attempting DIY installation often voids equipment warranties and creates serious safety risks.
How often does a solar system need maintenance?
Solar panels require minimal maintenance, typically just annual inspections and occasional cleaning to remove debris or dirt. Inverters may need replacement after 10-15 years, while panels themselves last 25-30 years with degradation rates under 0.5% annually.
Professional installers handle warranty registration, which protects your investment and ensures manufacturer support if components fail. They also set up monitoring systems that alert you to performance issues, making ongoing maintenance straightforward and stress-free.
Installing a solar energy system is more than adding panels to your roof, it’s a strategic investment in renewable energy that reduces your utility bills, increases property value, and contributes to a cleaner environment. While the installation process involves multiple technical steps, working with experienced professionals ensures your system is designed correctly, installed safely, and optimized for maximum energy production.
The complexity of permitting, electrical work, and structural considerations makes professional installation the smartest choice for most property owners. You gain peace of mind knowing your system meets all code requirements, qualifies for available incentives, and will perform reliably for decades.
Ready to start? The first step is a no-obligation site assessment. Jumping Cable Solar Homes provides comprehensive support throughout your solar journey, from initial evaluation and custom system design through installation, financing options, and ongoing maintenance. Our team handles the technical details so you can focus on the benefits: lower energy costs, energy independence, and a smaller carbon footprint.
Don’t wait to harness the sun’s power. Contact Jumping Cable Solar Homes today to schedule your free site assessment and discover how solar energy can transform your property’s energy future.